
Firstly, I have got to say, I’m a massive fan of Adobe Photoshop and I love using it with my students. I was curious how a stripped down version would work on my iPhone 5, after all, the screen is pretty small. It has to be said, after using it, its clear that a lot of work has gone into this . I’m very impressed.
When I first opened the App I wasn’t sure what to expect or how it would compare to the iPad version. The interface is very similar, with changes only made to take into account of the screen size. From what I can see all the functionality is the same. The UI is simple and not too overwhelming, it looks clean and it is easy to navigate.
So what is it like to use…
In order to give it a proper test, I decided to try and replicate an album cover that I produced in Photoshop for school a couple of months ago. I wanted to see how it compared. You can see the original below:
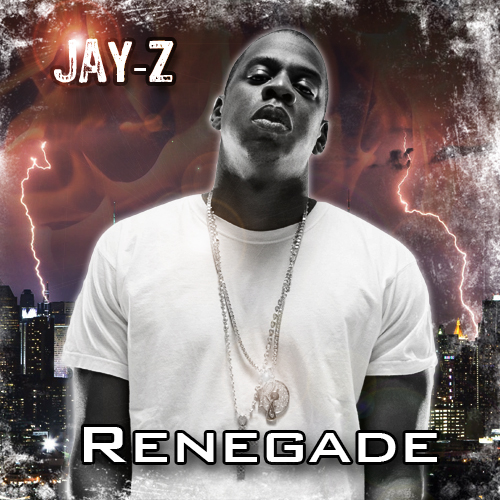
Original Photoshop Version
As a Creative Cloud user, I was able to download the images the original cover was made from, onto my iPhone from the cloud. Easy. You can also import images from your camera, photo library or clipboard.
Cutting out the original image of Jay-Z was a bit awkward, but I was impressed with the various option available to do it. You can use the lasso tool or use your finger to trace around the parts that you want. What really blew me away was the ‘Refine Edges’ tool. Very similar to ‘big’ Photoshop. But, again, a little bit awkward because of the screen size. If I was a bit more patient and with practice I am sure it would get easier.

Some of the editing tools
Once I cut Jay-Z out I then added more layers which are images from the cloud. The laters can all be arranged as you would do in the desktop version of Photoshop. You can even change the blending options of each layer. Happy days.

The layers
You can add adjust each layer by changing things like Brightness/Contrast, Saturation, Levels, Curves and many more.
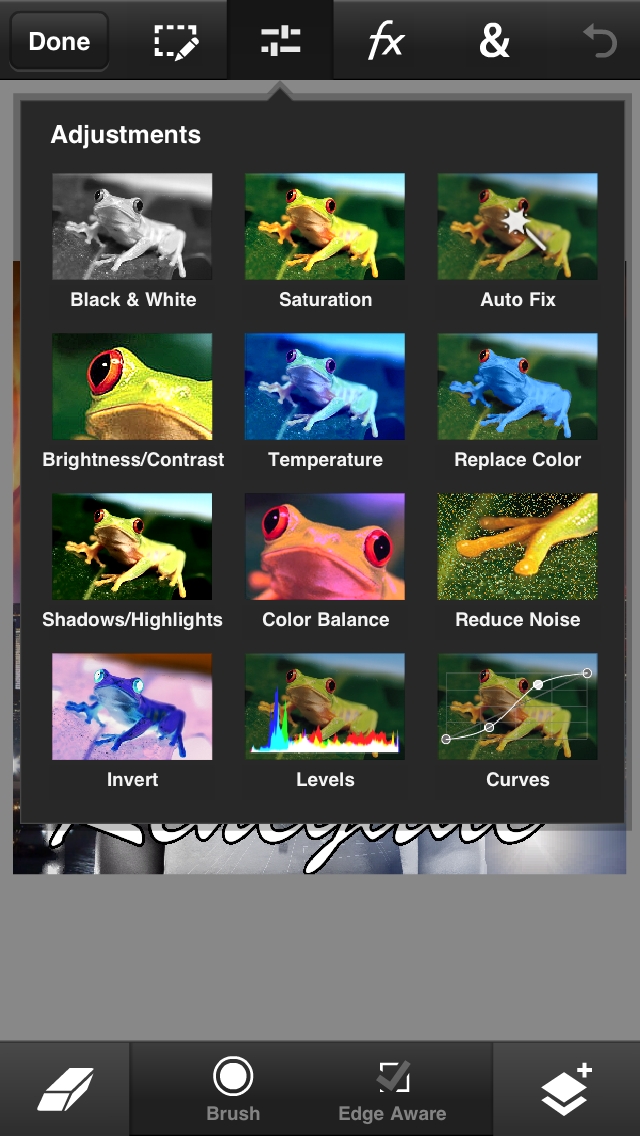
Adjustment Options
And of course, Photoshop would not be the same without some image effects. The effects available are pretty good, but I am sure we will see more added in the future.
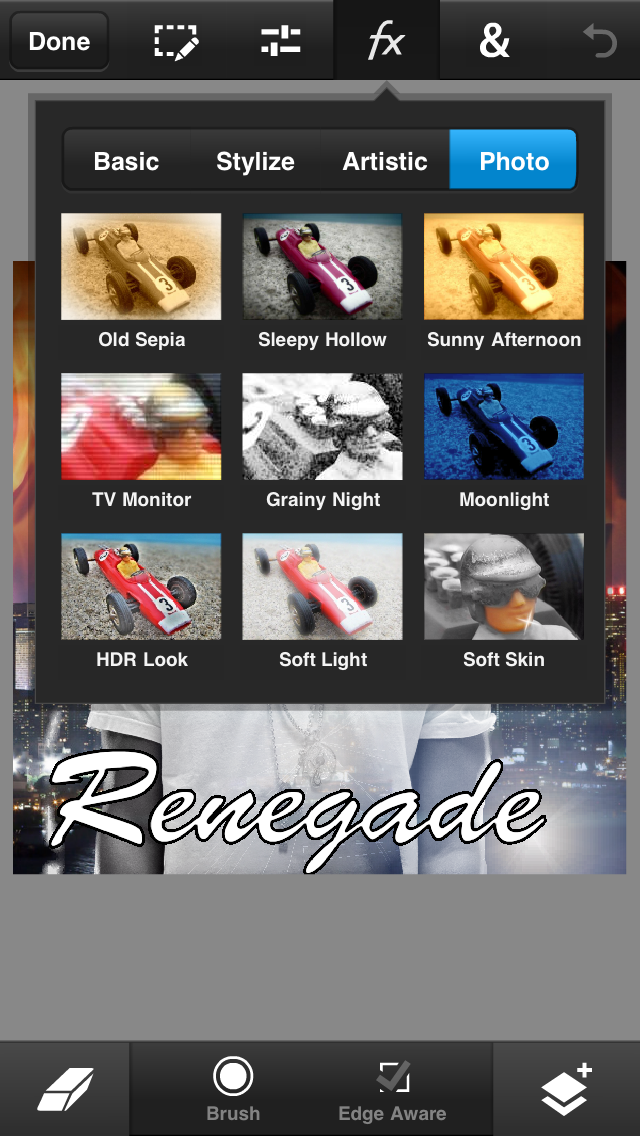
Effects
Once I had added my layers, made some adjustments my album cover was ready. I was even able to add some lens flare. I love lens flare and there are several options, even a JJ (Abrams option). There are several options for export, you can upload to creative cloud, save to Camera Roll, share in different ways or save to iTunes.
The final album cover looked pretty good, compared to the original. I found it quite difficult during the cutting out the image process and you can see it isn’t perfect. The screen size is not ideal for this sort of editing, the iPad is obviously far better for this sort of thing. I would also like to see more fonts available. However, for an iPhone App I am very impressed and really enjoyed using it. The available tools and options are amazing for a iPhone App. I would definitely recommend. It is especially good for anyone who wants to quickly mock up a design for a larger project. To be honest though, the results can be really professional.

Final Album cover made in PS Touch for iPhone
As you can see the image created on my iPhone is impressive when you compare it to the one I created on my MacBook Pro on Photoshop CS6.
My verdict: 4 out 5


